

Every gardener knows that trees are living investments in our landscapes, but sometimes nature has other plans. Whether it’s a severe storm, disease, or simply age, fallen trees are an inevitable part of property ownership. As someone who’s been tending gardens for over two decades, I’ve learned that these seemingly unfortunate events can actually be transformed into valuable opportunities.
Some of the links in this article may be affiliate links. If you make a purchase through these links, we may earn a small commission at no extra cost to you. Thank you.
Instead of viewing that fallen oak or maple as an expensive removal problem, consider it a windfall—quite literally! Converting fallen trees into firewood is not only environmentally responsible but also incredibly rewarding. There’s something deeply satisfying about warming your home with wood that once graced your own property. Plus, with heating costs continuing to rise, a good stockpile of seasoned firewood can provide both comfort and significant savings.
In my years of gardening and homesteading, I’ve processed countless fallen trees into firewood. The process requires patience, proper technique, and respect for safety, but the results are worth every swing of the maul. Let me walk you through the complete journey from fallen tree to crackling fire.
Step 1: Selecting the Right Wood

Not all wood is created equal when it comes to burning, and this is where your tree knowledge as a gardener really pays off. The species of your fallen tree will largely determine the quality of your firewood, so it’s essential to identify what you’re working with before you start cutting.
Hardwoods are your golden ticket. Oak, maple, hickory, ash, and birch are the cream of the crop for firewood. These dense woods burn slowly, produce excellent heat output, and create those beautiful, long-lasting coals that make for perfect evening fires. Oak, in particular, is prized for its ability to burn for hours with minimal attention. I’ve found that a properly seasoned oak log can burn steadily for 2-3 hours, making it ideal for overnight heating.
Softwoods have their place too, though they’re often misunderstood. Pine, cedar, fir, and spruce burn much faster and produce less heat per cord, but they’re excellent for kindling and getting fires started quickly. The higher resin content in softwoods means they ignite easily and burn hot initially, perfect for those chilly morning fire starts when you need immediate warmth.
Fruit woods deserve special mention. If your fallen tree happens to be an old apple, cherry, or other fruit tree, you’ve struck gold for cooking fires. These woods impart wonderful flavors when used for grilling or smoking meats. I always set aside fruit wood separately for summer barbecues.
Avoid problematic wood at all costs. Never use wood from diseased trees, as the pathogens can survive in the wood and potentially spread. Similarly, insect-infested wood can introduce pests to your storage area. I’ve learned to carefully inspect all wood for signs of boring insects, fungal growth, or unusual discoloration before processing.
Step 2: Cutting the Tree into Logs
This is where the real work begins, and proper preparation is crucial for both safety and efficiency. Before you even start your chainsaw, take time to assess the fallen tree’s position and plan your cutting strategy.
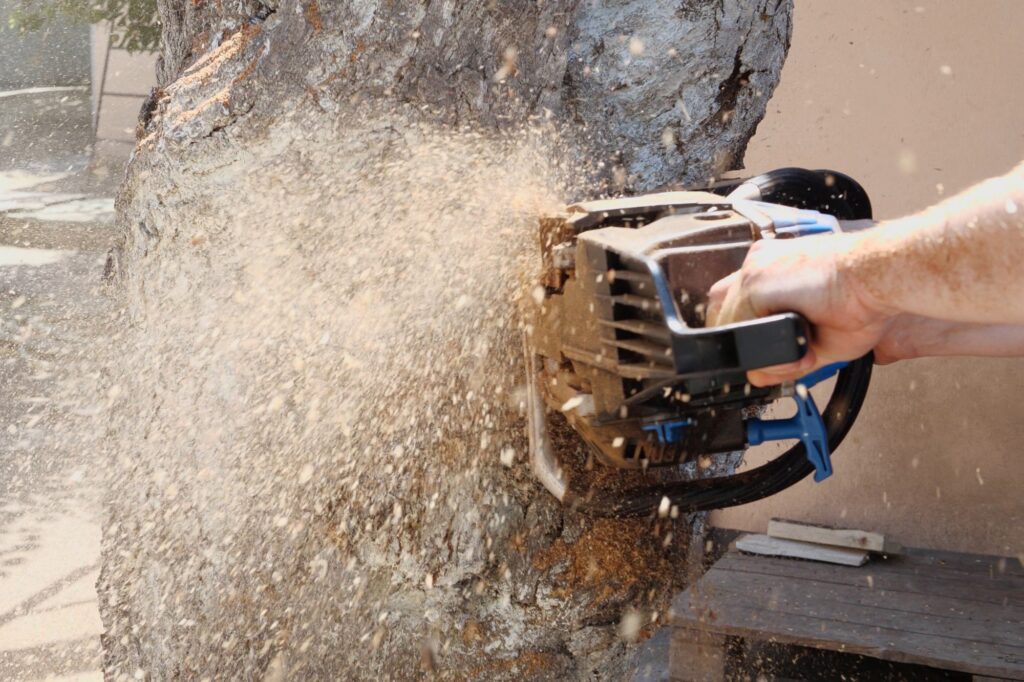
Size matters when it comes to firewood. For indoor fireplaces and wood stoves, 16-inch logs are standard, though some newer efficient stoves can accommodate 18-inch pieces. For outdoor fire pits, you have more flexibility—I often cut some logs to 20-24 inches for those large summer gatherings. The key is consistency; uniform lengths stack better and burn more predictably.
Safety cannot be overstated. Always wear proper protective equipment: safety glasses, hearing protection, steel-toed boots, chainsaw chaps, and work gloves. I’ve seen too many accidents happen when people get complacent around chainsaws. Keep your chainsaw well-maintained with a sharp chain—dull chains are dangerous and make the work much harder.
Start with the easy cuts. Begin by removing all branches and cutting the main trunk into manageable sections. Watch for binding—where the weight of the log pinches the chainsaw blade. Understanding how wood under tension behaves will prevent your saw from getting stuck and potentially being damaged.
Consider the grain. Look for natural weak points in the wood, such as where branches were attached, and plan your cuts accordingly. This preliminary assessment will make the splitting process much easier later on.
Step 3: Splitting Wood
Splitting wood is both an art and a science, and it’s honestly one of my favorite parts of the entire process. There’s something meditative about the rhythm of splitting, and it’s an excellent workout that beats any gym membership.
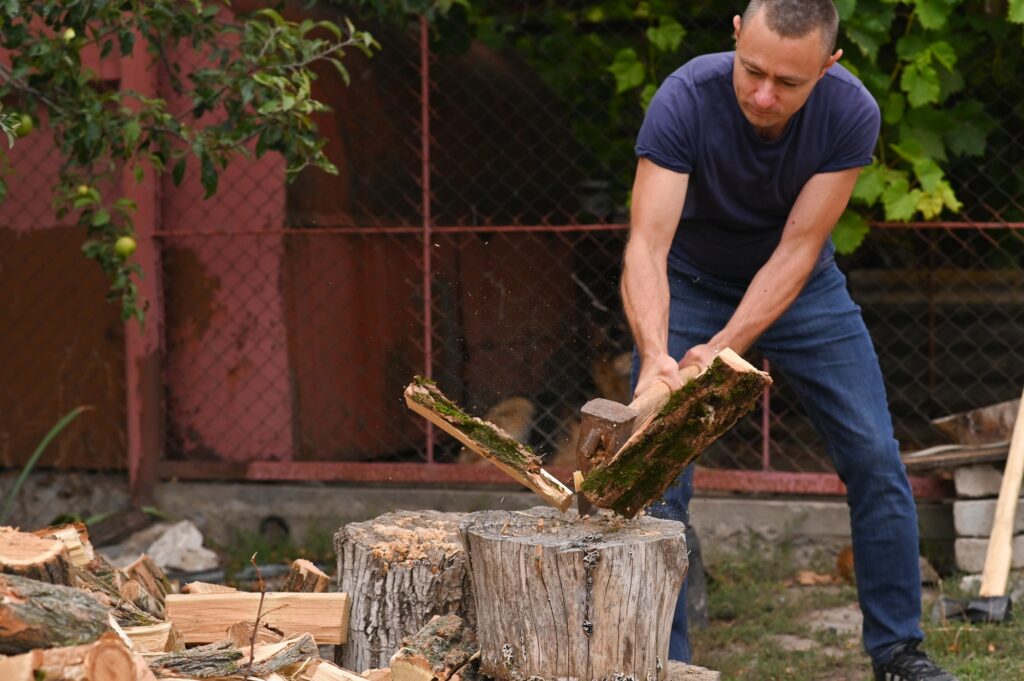
Choose your weapon wisely. A splitting maul is your primary tool—heavier than a regular axe with a wedge-shaped head designed to split rather than chop. For beginners, I recommend starting with a 6-8 pound maul. As you build strength and technique, you can move up to heavier tools if desired.
Technique trumps strength every time. Stand with your feet shoulder-width apart, grip the maul with one hand at the base of the handle and the other about halfway up. As you swing, let your top hand slide down to meet your bottom hand at impact. Aim for the center of the log initially, looking for natural cracks or checks that indicate weak points.
Work with the wood’s natural tendencies. Hardwoods like oak often split more easily along the grain when struck at the edges rather than dead center. Knotty pieces can be challenging—sometimes it’s better to set them aside and use them whole as “ugly logs” for overnight burns.
Don’t fight impossible pieces. Some logs, particularly those with twisted grain or large knots, simply won’t split cleanly. I keep a collection of wedges and a sledgehammer for these stubborn pieces. Drive steel wedges into the log and use the sledgehammer to gradually work them deeper until the wood gives way.
Step 4: Drying the Wood
Proper seasoning is absolutely critical for good firewood, and this is where patience becomes your greatest virtue. Freshly cut wood can contain 40-50% moisture, but good firewood should be below 20% moisture content.
Time is your primary ally. Most hardwoods need 6-12 months to properly season, while softwoods typically dry in 3-6 months. I always plan ahead, cutting wood for next year’s burning season. This might seem excessive, but properly seasoned wood burns cleaner, produces more heat, and creates less creosote buildup in your chimney.
Stacking technique matters enormously. Create a stable foundation using the largest, straightest pieces as your base. Stack wood in rows with gaps between pieces to allow air circulation. I prefer the traditional “round” stacking method for its stability, but linear stacks work well too if you have limited space.
Location, location, location. Choose a spot that gets good sun exposure and prevailing winds but has some protection from direct rain. I stack my wood in a south-facing location where it gets maximum sun exposure during the day. Avoid areas that stay damp or have poor drainage.
Cover wisely. While you want protection from direct rain, avoid completely covering your wood pile with tarps, as this can trap moisture. I use metal roofing sheets that cover just the top of the pile, allowing air circulation from the sides.
Step 5: Storing the Wood
Once your wood is properly seasoned, storage becomes crucial for maintaining its quality and ensuring it’s ready when you need it.
Elevation prevents moisture problems. Never store firewood directly on the ground. Use pallets, treated lumber, or metal racks to keep wood off the soil. Ground contact leads to rot and insect problems that can ruin an entire season’s worth of work.
Ventilation is key. Whether storing in a shed, garage, or dedicated wood shed, ensure adequate air circulation. Stagnant air can lead to mold and prevent the wood from staying properly dry. I’ve built simple wood sheds with open sides that provide excellent protection while maintaining airflow.
Keep it organized. Store your oldest, most seasoned wood where it’s most accessible. I mark my wood piles with the date they were cut and stacked, following a “first in, first out” system. This ensures I’m always burning the best-seasoned wood.
Pest prevention matters. Avoid storing wood against your house or other structures, as this creates highways for termites and other insects. Maintain at least a 3-foot gap between wood piles and buildings. I also inspect stored wood regularly for signs of insect activity.
Conclusion
Converting a fallen tree into firewood is one of the most rewarding projects a homeowner can undertake. Not only does it solve the immediate problem of tree removal, but it also provides a valuable resource that can warm your home and create countless memorable evenings by the fire.
The process requires planning, proper tools, and patience, but the satisfaction of burning wood that you’ve processed yourself is incomparable. From my garden to my hearth, I’ve found that working with wood connects us to fundamental skills and rhythms that our ancestors knew well.
Remember that safety should always be your top priority throughout this process. Take time to learn proper techniques, invest in quality protective equipment, and don’t rush the seasoning process. Good firewood is worth waiting for, and the skills you develop will serve you well for years to come.
Whether you’re warming your home, creating ambiance for outdoor gatherings, or simply enjoying the meditative aspects of working with wood, transforming fallen trees into firewood is a practice that benefits both your property and your soul. After all, there’s nothing quite like the warmth of a fire fueled by wood from your own land.